Description
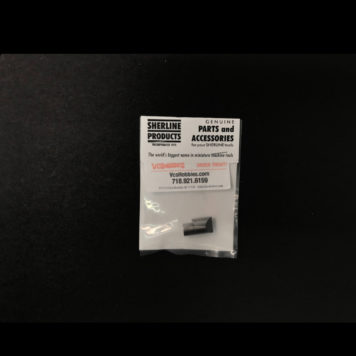
Sherline Lathe Crosslide Anti-Backlash Upgrade Kit 40950
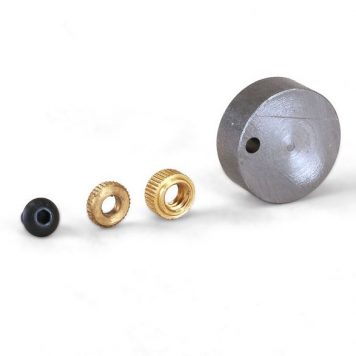
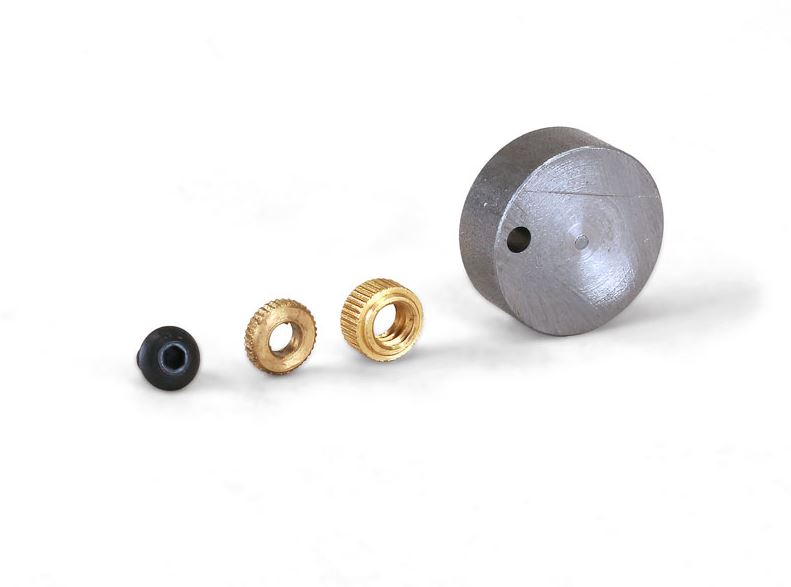
Crosslide Anti-Backlash Upgrade Kit for the Sherline Lathe Crosslide
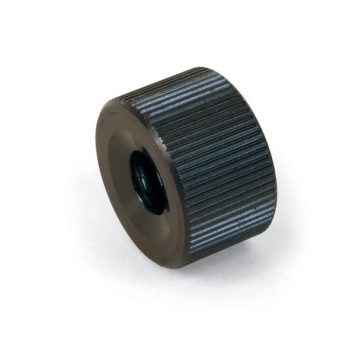
This upgrade kit is for those who want to update their present lathe saddle to include this new backlash adjustment feature. It includes the backlash nut, star gear lock and button head screw plus a drill guide block to help with drilling and tapping the new hole required for installation
What is “backlash” and how much of it do the leadscrews have?
Backlash is the play in the engagement of the leadscrew threads which allows a few thousandths of an inch to be turned on the handwheel before the leadscrew starts to turn when changing directions. This is a fact of life on any machine tool and is accounted for by always making your cuts in the same direction and keeping track of which way you turned the handwheel last. Backlash is usually set to about .003 to .005″ (.08mm to .12mm). The X-Y leadscrew on the mill has a backlash adjustment, but it is still recommended that it be set to .003″.
Installing a Crosslide Anti-Backlash Upgrade Lock on the Lathe
Remove the existing saddle from the lathe and remove the slide screw insert by releasing the 8 32 set screw that comes up from the bottom of the saddle. Use the leadscrew to pull the threaded brass insert out of the hole.
Place the round protrusion on the back side of the drill guide block into the leadscrew hole and line up the scribed line so it is parallel to the top of the saddle dovetail. You can clamp it in place, or you can just hold it place with your fingers while drilling. (Radial hole position between the 7 and 9 O’clock position is not extremely critical, only distance between the hole centers matters.)
Using a #29 drill in a portable electric drill or a drill press, drill the hole at least 1/2″ deep using the hole in the block to position it. The steel drill guide block is not hardened. That is not a factor, as it is only useful once. Chamfer the hole prior to tapping.
Tightening the Screw
Tap the hole with an 8-32 thread at least 3/8″ deep. NOTE: The tap must be perpendicular to the face of the lathe saddle in order to tap the hole in the proper location. If the tap is not perpendicular it will tap at an angle. The screw will not go in straight, and this will force the star gear lock location to be too close or too far away. If you blow it and your tapped hole location or angle is wrong you can rotate the drill guide block down to the 7-8 o’clock position and try again.
Install the star gear lock with the flat side against the saddle using the 8-32 button head screw. Do not tighten.
Re-install the slide screw insert in the saddle and lock it in place with the 8-32 set screw from beneath.
This set screw has to be tight, but not too tight. Tighten the set screw until snug, and then turn the slide screw to see how much resistance there is. The slide screw should turn easily. Now tighten the set screw a bit more and turn the slide screw again. Keep tightening the set screw until you feel resistance. Once you feel resistance stop there.
Possible Issues
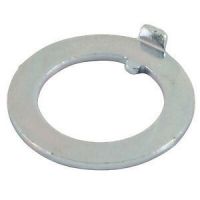
NOTE: If the anti-backlash nut comes out of your saddle as shown below, there are only three reasons for this to happen.
A. The slide screw nut inside the saddle is turning (tighten the set screw).
B. The slide screw nut inside the saddle is being pulled out (tighten the set screw).
C. The anti-backlash nut is not in place by the anti-backlash lock, and it is turning. Check the mesh between these two parts and tighten the 8-32 screw.
Thread the new brass anti-backlash nut halfway onto the crosslide leadscrew with the lip side facing the saddle (see Figure 5). Take the leadscrew back into the slide screw insert until it is at least halfway into the saddle. Thread the backlash nut down against the side of the saddle so the knurled teeth engage with those on the star gear lock (see Figure 6). Tighten it firmly finger tight and then tighten the button head screw in the star gear lock to lock it in place. Measure backlash as described in your Sherline instruction manual. Proper adjustment should be between .001″ (.03mm) and .003″ (.07mm) of backlash.
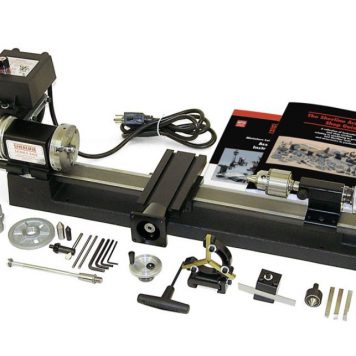
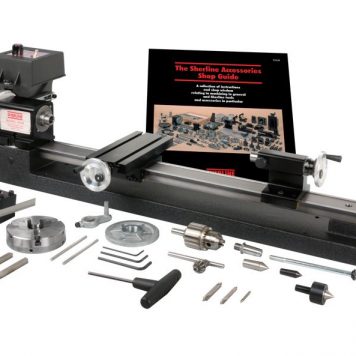
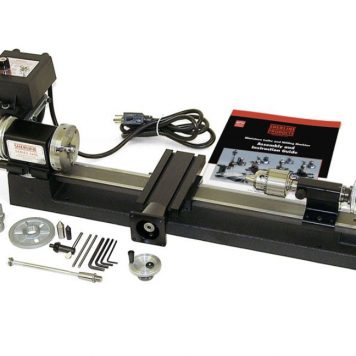
PLEASE NOTE: THIS IS THE NUTS AND SCREWS ONLY, NOT THE CROSSLIDE. THE CROSSLIDE IS SOLD SEPARATELY